- Step 1 : Getting Started with Mudiad Meithrin on Wootzoo
- Step 2 : Creating Contracts & Invoicing
- Step 3 : Day to Day Management Tasks
Step 2 : Registration, Contracts and Invoicing
Now that you've completed all the setup steps, you are ready to streamline the management of your childcare setting. This guide will walk you through the daily management tasks, from handling enquiries and registrations to creating contracts and marketing your services.
Each section is split into chapters, so you can easily skip to the relevent part.
1. Sharing Your QR Code and Homepage With Customers
QR Code:
Top Right Menu > Settings
On the Pro Plan, you can share your QR code with parents so they can register with your setting. Find your QR Code under ‘Settings’ from the top right menu. Download the QR code to print it, add it to posters, or send it via email.
Homepage URL:
Left Hand Menu > Cylch Name
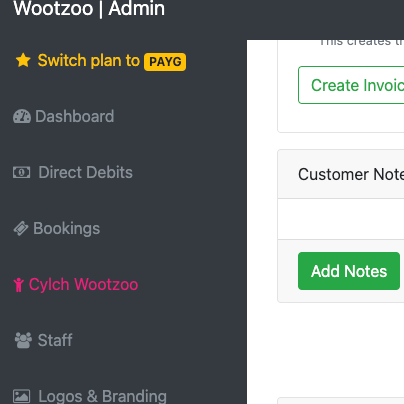
Share your homepage URL directly with customers via email or the Wootzoo messaging service. Find your homepage URL link from your Cylch profile page by clicking on your Cylch name in the left hand menu. Copy this link to send to your customers via email, or via the Wootzoo Messaging service. Customers can also find you on Google or through the Wootzoo directory search.
Interacting with Customers: Once parents land on your homepage, they can message you and register their children.
2. Navigating Your Dashboard
Left Hand Menu > Cylch Name
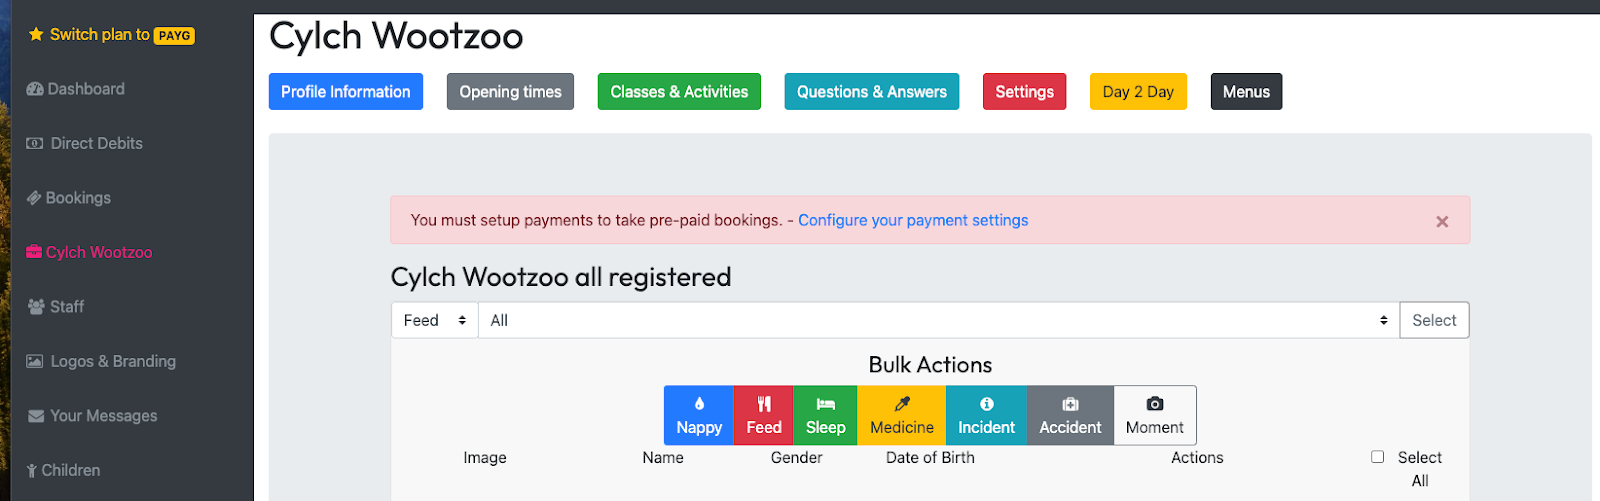
Access Information: All your day-to-day information and settings are available under your Cylch name in the left-hand menu.
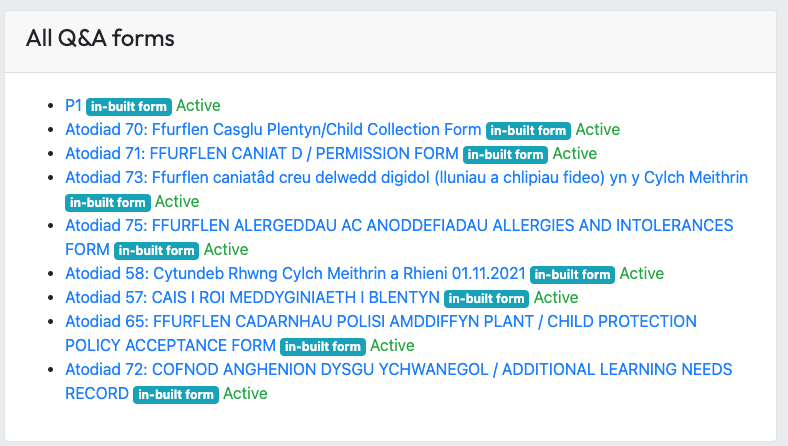
Official Forms: As part of the partnership with Mudiad Meithrin, official forms are integrated into the system. Access your forms from within your Cylch menu and click on
Custom Forms: Add your own forms to the system and choose if they should be completed during pre-registration or sent out as one-off forms.
3. Handling Registrations
Child Registration:
Upon registration, parents will be redirected to fill out the first form in your list of forms, typically the P1 form unless custom forms are added. Additional forms can be completed at the parent’s convenience.
Note: You can add unlimited custom forms.
Staff Approval:
Registration requests are sent to the Cylch. Staff will receive both an email and an in-app notification. They can then approve or deny requests.
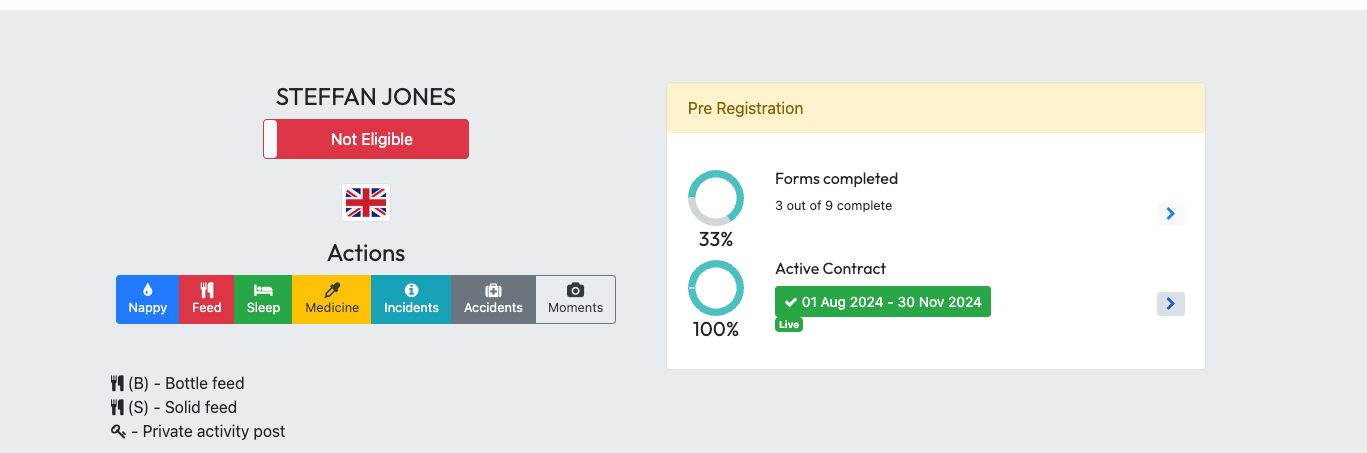
Pre-Registrations:
New registrations default to ‘Pre Registrations’. Staff can set a date for the child to move to ‘Active’ or manually switch the status.
4. Managing Contracts and Timeslots
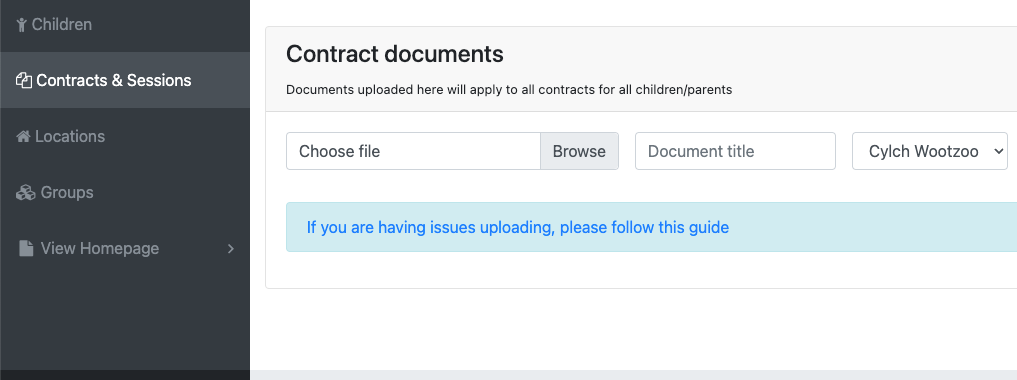
Left Hand Menu > Cylch Name > Contracts & Sessions
You can create and add timeslots to contracts, from within 'Contracts & Sessions'.
or via the child’s profile.
Left Hand Menu > Children > Click on childs name
The timeslots you create will be used to create contracts between your setting and parents.
Documents uploaded here are specific to contracts and each document uploaded will be available to all parents, that have a contract with you.
If you haven’t received any registration requests, you can still create time slots. All time slots created will be available to all children regardless of how they are created.
Creating Contracts:
Contracts can be created for both ‘Active’ and ‘Pre-Registration’ children. Slots can be marked as ‘Flying Start’ if the child qualifies, and they will not be billable to the parent.
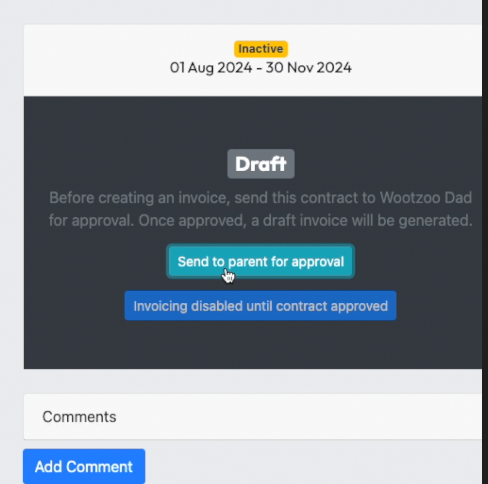
5. Contract Approval Process
Once a contract is ready with start and end dates, it can be sent to the parent for approval. From within the contract, click ‘Send to parent for approval’ and optionally add a comment. Parents can approve or request changes. Once approved by both parties, the contract will be marked as ‘Approved’. Any edits will revert it to ‘Draft’ mode for re-approval.
6. Invoicing
Connect with GoCardless:
Before processing direct debit payments through Wootzoo, you need to connect your bank account to GoCardless. From ‘Settings’ in the top-right hand menu, click on the ‘Connect with GoCardless now’ button and follow the instructions.
Send Direct Debit Setup Link:
From the Parent invoicing page, click ‘Send Direct Debit Setup Link to Parent’ to send a parent an email with the direct debit mandate. Once completed, you can begin billing.
Invoice Management:
Invoices are automatically created based on the agreed contracts. You can customize these by adjusting days and hours as needed.
Calculate Invoice:
On the customer invoicing page, select the month you wish to invoice for and click ‘Calculate Invoice’. This will provide a preview of times and hours billed. Edit billable amounts if necessary.
Generate Invoice:
Click ‘Generate Invoice’ to finalize the amounts. You can make additional edits before requesting payment.
Request Payment:
To create a direct debit charge, tick ‘Create Charge’. To send the invoice to the parent, select ‘Send Invoice’. The parent will receive the invoice and a scheduled payment request.
Manage Payments:
Mark an invoice as paid by selecting ‘Record a payment’ on the desired invoice. If the amount matches the invoice, it will be marked as ‘Paid’, and the parent will be notified.